
Normally in cannabis growing, the clock only runs one way: from veg to flower, then chop and cure. But what if I told you that you can turn the clock back? That a plant in full flower can be forced back into vegetative growth, and you can even take clones from it?
Sounds like magic? It’s not magic, it’s re-vegging, and its wild cousin called monstercropping. These techniques are a bit more advanced, but don’t worry — I’ll walk you through them step by step so you can try them in your own grow.
What is re-veg?
Re-veg (short for re-vegging, “return to vegetative growth”) is when you take a flowering plant and flip its light cycle back to veg. Instead of chopping the whole thing and saying goodbye, you leave some green growth and give it a second life.
Imagine cutting down a big Christmas tree to bare branches, and then watching it sprout fresh shoots again. That’s exactly what re-veg looks like in the growroom.
How to revert a plant back to veg step by step
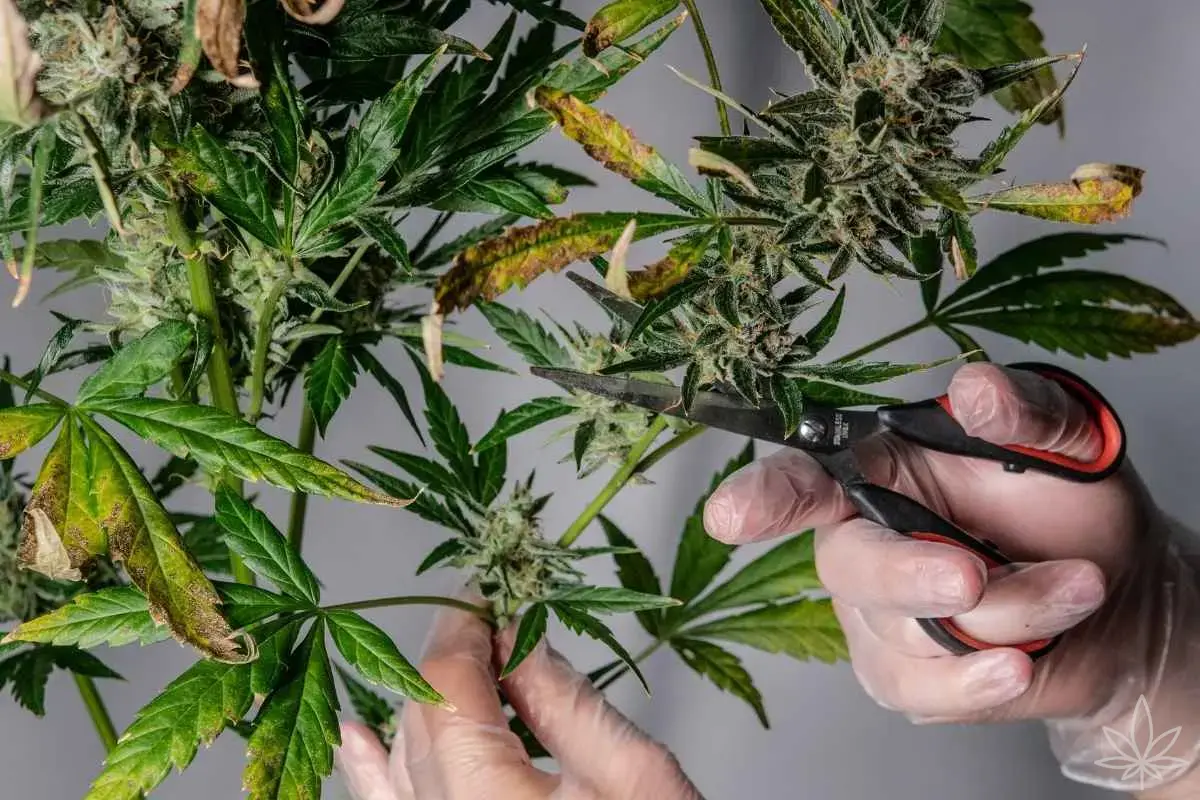
- Leave some life behind: when you harvest, don’t cut everything. Leave some lower popcorn buds and a few fan leaves. This will be the base from which the plant bounces back.
- Change the photoperiod: switch back to the classic 18/6 (18 hours of light, 6 hours of dark). The light should be stable and strong.
- Be patient: the first few weeks look weird — the plant pushes out twisted, single-bladed leaves, sometimes like parsley. Don’t freak out, that’s normal.
- New veg phase: after a few weeks, you’ll see fresh shoots and normal leaves. From that point on, treat the plant like any other in veg.
Why do re-veg at all?
- Save a gem: found an amazing phenotype but didn’t take clones? Re-veg lets you keep it.
- Mother bonsai: some growers keep mother plants in re-veg for years, pruning them bonsai-style and cutting clones whenever they want.
- Extra harvests: you can get a second round from the same plant, though it takes time and patience.
Monstercropping — clones from flowering
Monstercropping is when you take clones from a plant that’s already flowering. It’s a little crazy, because those clones have to “unlearn” flowering and return to veg first.
Why does it work?
After recovering, those clones grow extremely bushy, with tons of side branching. They become more “monstrous” than regular veg clones — hence the name.
How to do it:
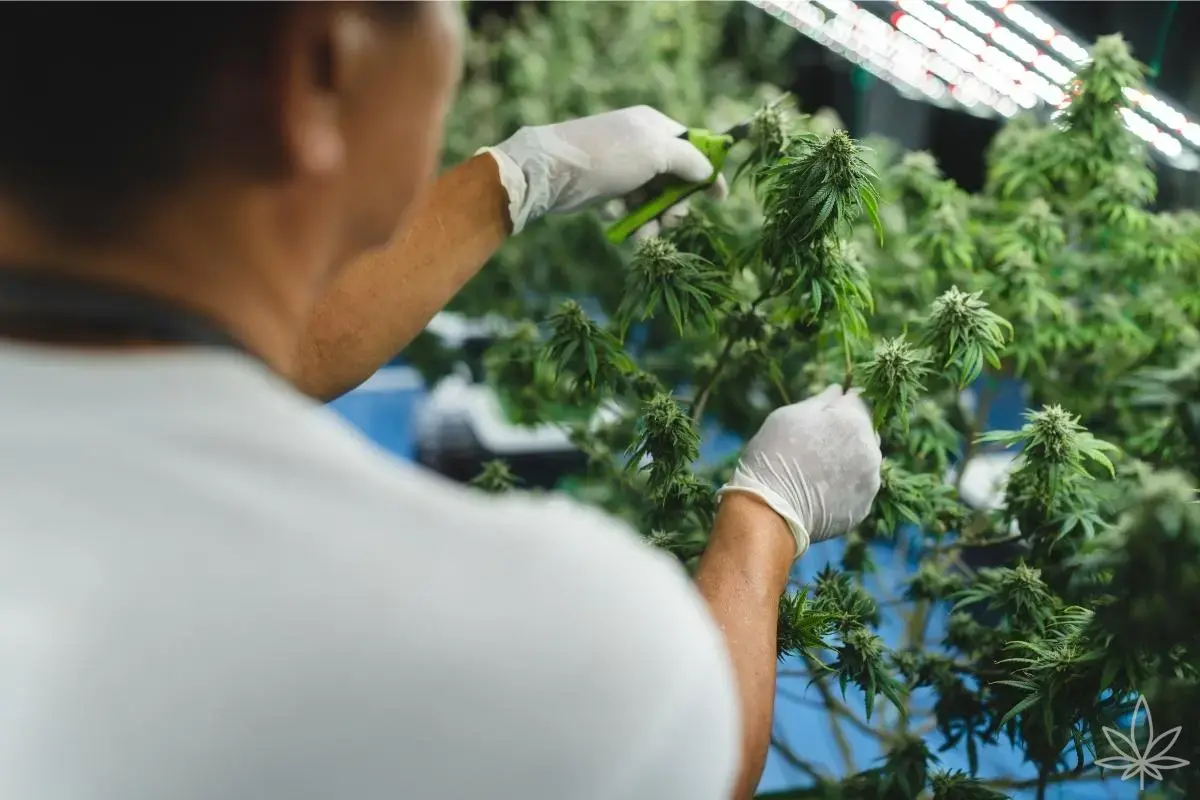
- Take clones from the lower branches around week 2–4 of flowering.
- Root them with gel and cubes like normal clones.
- Put them under an 18/6 light cycle and be patient — they may take longer to root.
- Once they bounce back, they’ll turn into branch-producing machines.
What to watch out for with the photoperiod
Re-veg and monstercropping only work with photoperiod strains. You can’t revert autoflowers to veg because they’re on a built-in genetic timer.
It’s just as important to keep the photoperiod stable. Light leaks or timing issues can stress the plant, and stress can cause hermies (hermaphrodites). And you definitely don’t want that.
Drawbacks and challenges
- Time: re-veg is slow. Instead of popping a new seed, you wait weeks for the plant to get back on track.
- Stress: not every plant handles it well. Some might just die.
- Yield: the second round may be smaller, though sometimes it’s frostier.
Re-veg and monstercropping are like turning the growroom clock backward. They don’t always pay off, and they don’t always go perfectly, but when you stumble upon a gem, they’re worth trying. These are techniques for growers who aren’t afraid to experiment and want to squeeze the full potential from their plants.
And most important: don’t panic when you see those weird, single-bladed leaves at first. That’s the sign your plant is fighting for a second life — your job is to give it time and stable conditions.


