
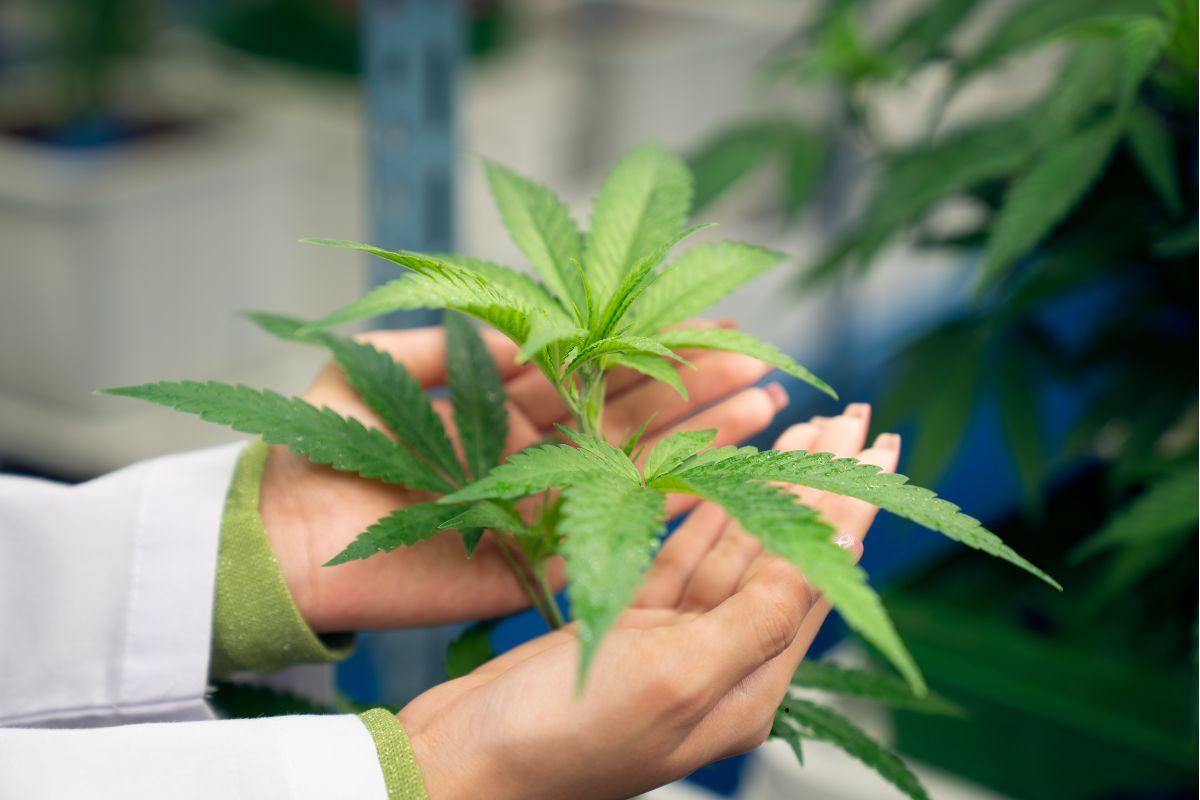
Cloning allows for fast replication of proven genetics. Unlike growing from seeds, where each plant may have different phenotypic traits, clones retain all the properties of the mother plant: growth pattern, structure, taste, aroma, and cannabinoid levels. It's an excellent method for achieving a uniform and predictable indoor grow.
When to Take a Clone?
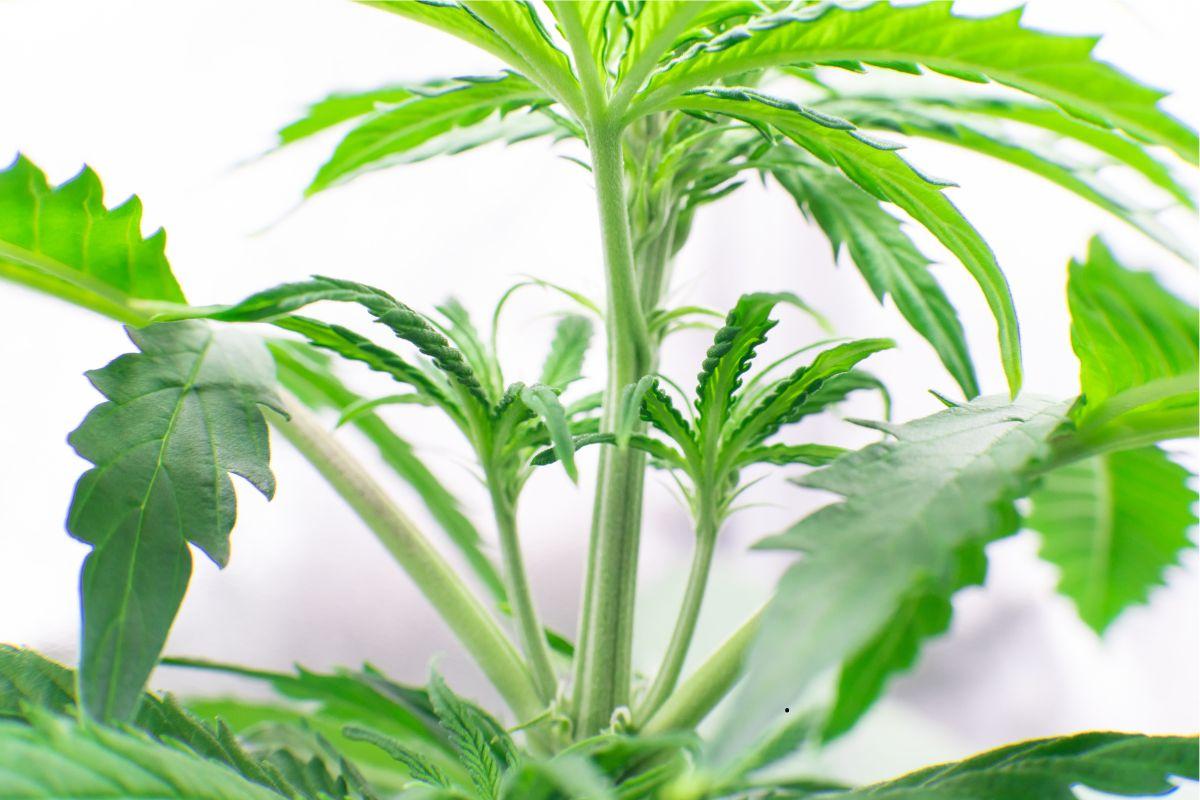
The best time to take a clone is during the vegetative stage (before flowering). The mother plant should be healthy, strong, and free from pests and diseases. Clones taken from flowering plants root more slowly and have a higher risk of deformities.
The optimal age of a mother plant is at least 4–6 weeks from germination, with a well-developed structure of side branches.
What Tools Will You Need?
- Sharp scissors or a scalpel (preferably sterile)
- A container with water (for immediate immersion of the cutting)
- Rooting hormone (gel or powder with rooting hormones)
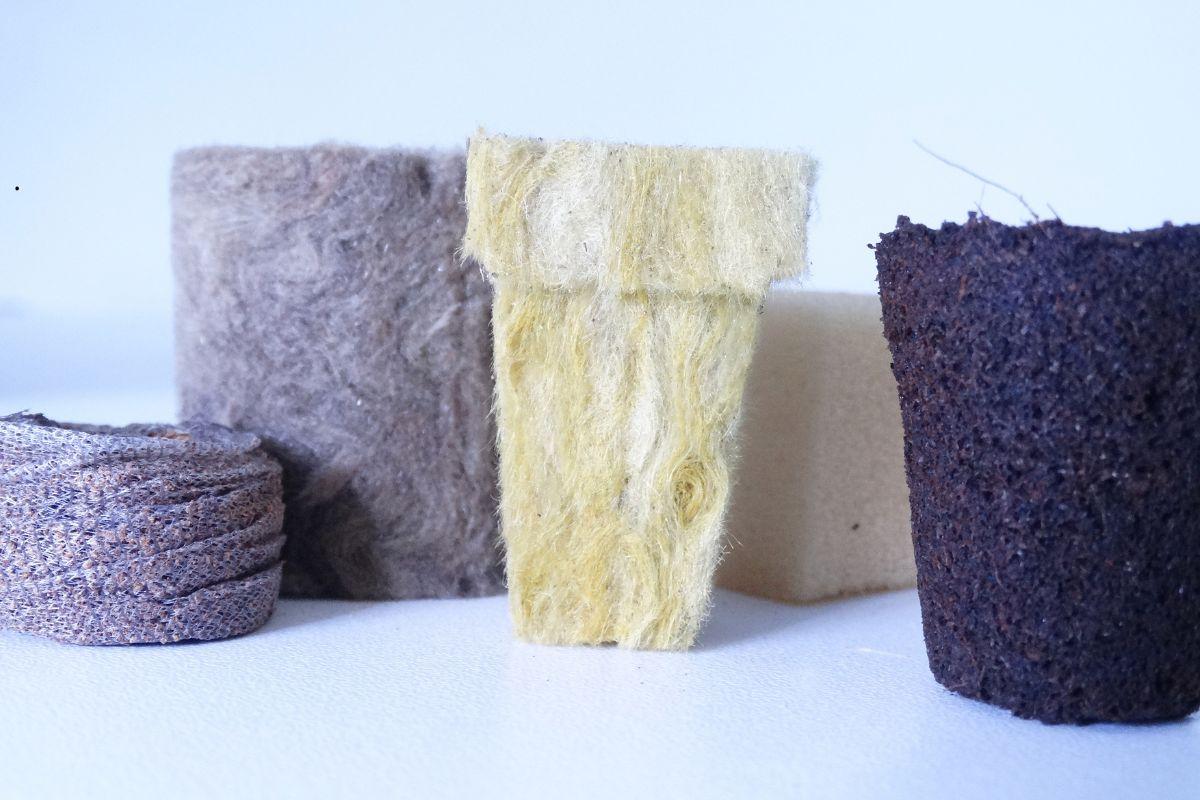
- Peat, coco, or Rockwool cubes
- A propagator or mini greenhouse
- Low-intensity lighting (e.g., LED 18/6)
- Spray bottle with water (preferably filtered or distilled)
Step-by-Step: How to Take and Prepare the Perfect Clone
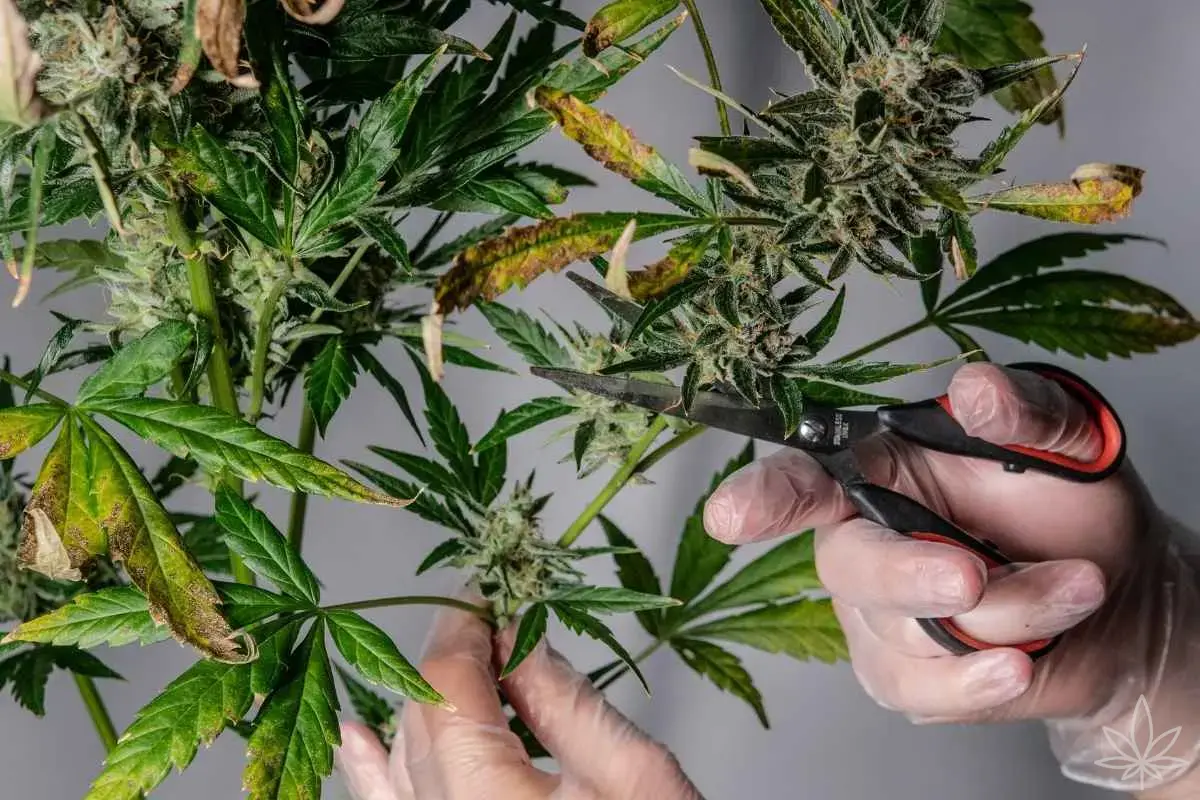
1. Select the Right Shoot
Choose a side, young shoot about 8–15 cm in length. Ideally, it should have 2–3 nodes and healthy, green leaves. Avoid woody or very thin branches.
2. Cut at an Angle
Cut the shoot with a sharp tool at a 45° angle just below a node (where the leaves grow). This angle increases the absorption surface and supports faster rooting.
3. Submerge the Cutting in Water
Immediately after cutting, place the clone in water to prevent air from entering the vascular tissue.
4. Remove Lower Leaves
Remove the leaves from the lower nodes — unnecessary biomass burdens the clone and hinders rooting.
5. Trim the Top Leaves
Leave 1–2 pairs of leaves at the top and trim them in half. This reduces evaporation and helps maintain moisture in the young plant.
6. Apply Rooting Hormone
Dip the end of the shoot into rooting gel or powder. Hormones stimulate root growth and increase the chances of success.
7. Insert Clone into Medium
Insert the clone into a pre-prepared cube or pot with light, moist substrate. Gently press to secure without damaging the tip.
Rooting Conditions
- Humidity: 80–100% (use a propagator or plastic cover)
- Temperature: 22–26°C
- Lighting: 18 hours per day, low intensity (LED or fluorescent)
- Ventilation: air out the mini-greenhouse for a few minutes daily
- Misting: 1–2 times a day with water mist
The rooting process takes 5 to 14 days, depending on conditions and strain. Once the first roots are visible, start hardening the plant — gradually lowering humidity and increasing light exposure.
Most Common Cloning Mistakes
- Too weak or sick mother plants – clones inherit these issues.
- Overly wet medium – may cause the cutting to rot.
- Poor hygiene – tools and hands must be clean and disinfected.
- Too strong light – can burn delicate leaves.
- Impatience – transplanting too early may destroy young roots.
What Next for the Clone?
When the roots are 2–3 cm long and well-developed, the clone can be transplanted into its final medium (soil, coco, hydroton). It then enters the vegetative growth phase and can be treated as a full-fledged plant.
Summary
Cloning cannabis is not only a way to save time and money but also a method to preserve your favorite genetics and achieve predictable results. The keys to success are choosing a healthy mother plant, precise cutting, cleanliness, and environmental control. With experience, this technique becomes routine — and the quality of the clones remains consistently high.
