Lamp-to-canopy distance is the knob you turn most — and the one that can help fastest… or hurt. LEDs have their “sweet” distances: too close and they toast terpenes and bleach tops; too far and they stretch internodes and slow photosynthesis. Below you’ll find an essay-cheat sheet: orientation tables, light burn vs. deficiency symptoms, and a simple protocol for when to raise/dim the lamp so the canopy stays flat and the stems “pray” to the light in a healthy way.
How distance works — grower’s short version
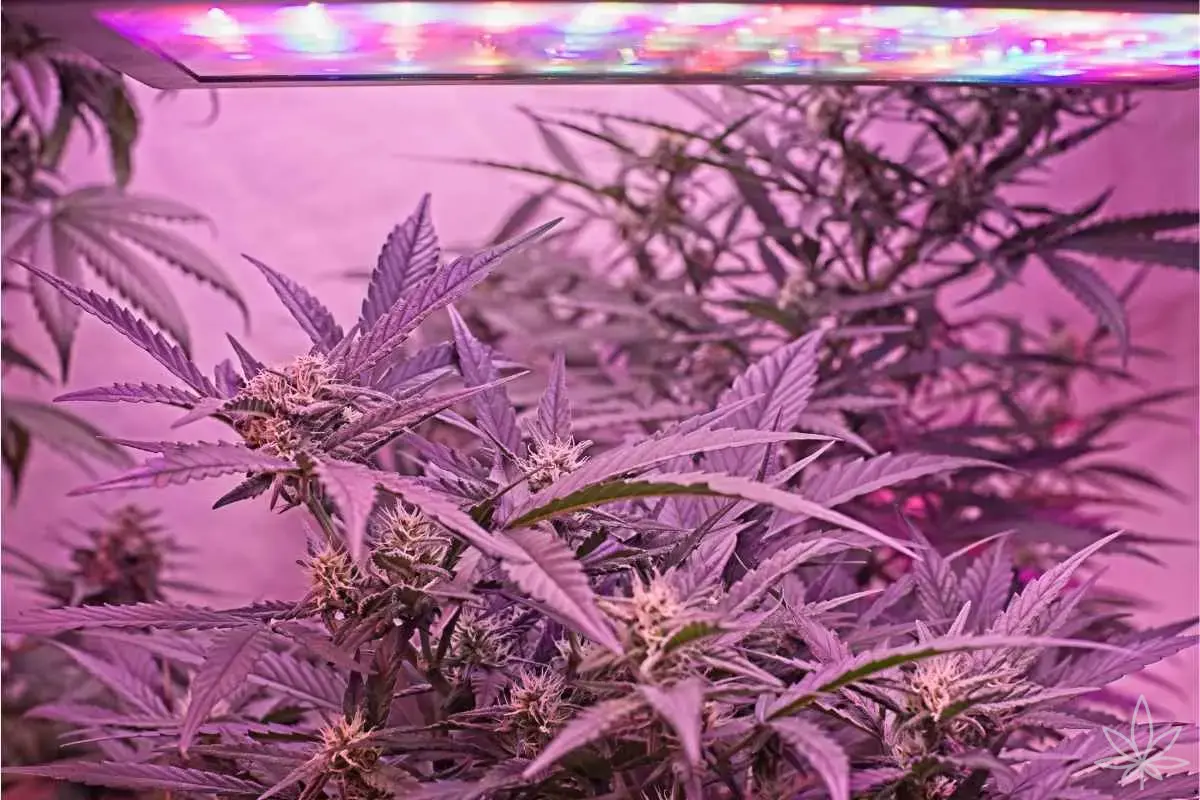
The closer the LED, the more photons per m² and the stronger the hotspot under the center. Bar lights spread more evenly and can hang closer; single-source boards/panels need more distance because the center spike is sharper. Add leaf temperature to the mix: at too little distance you increase not only µmols but also heat on the blade. When the leaf is too hot and/or too dry at the tips, it starts “shouting” even if the PPFD “on paper” looks great.
Rule: aim for average PPFD for the phase (e.g., 300–500 µmol veg, 700–900 µmol flower), and use distance to shape uniformity. Flatten the canopy before you crank power.
Symptoms: too close vs. too far
Too close (light stress / light burn)
- Where? First on the top of the plant under the lamp; bottom looks better.
- Leaves: “taco” edges curling up, photobleaching on the top surface, interveinal yellowing from the tips downward.
- Flowers: white, brittle top tips, sometimes foxtailing only under the lamp center.
- Touch: blades feel “papery,” dry at the tip while the medium is normal.
- Quick test: raise lamp 5–8 cm or dim 10–20% for 48 h — new growth starts looking healthy.
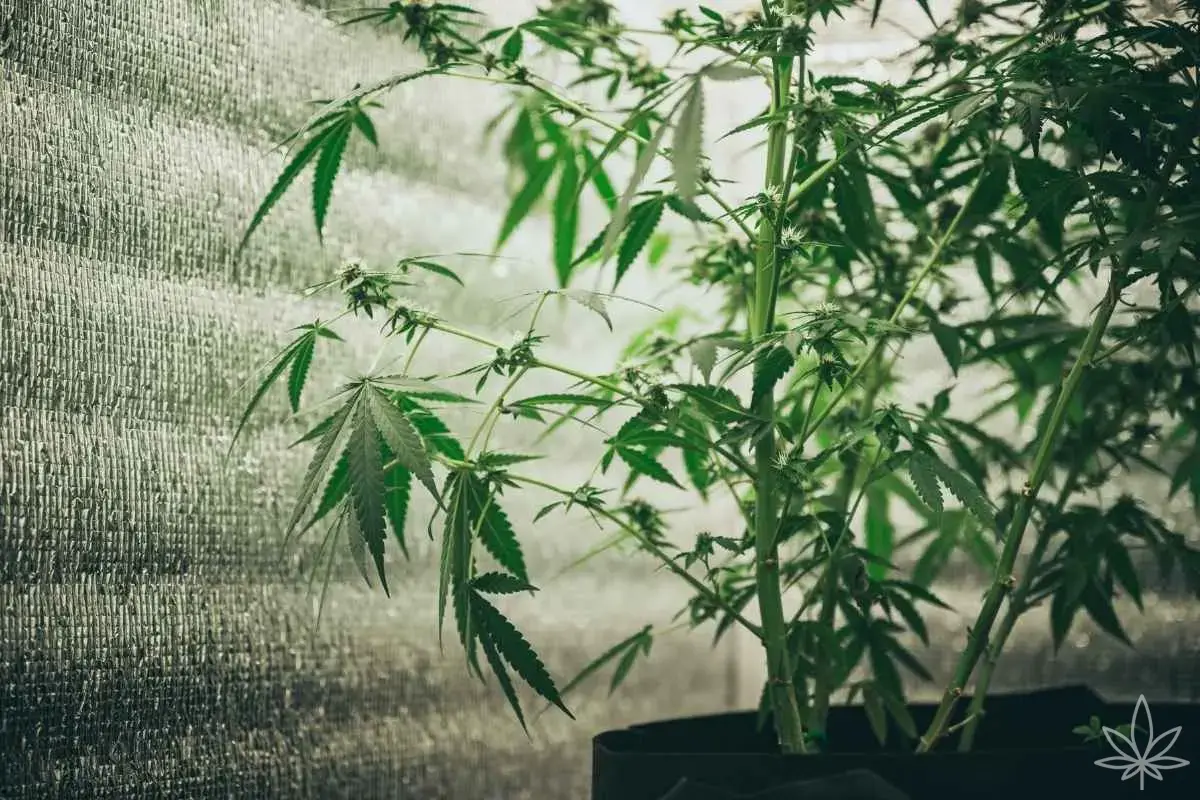
Too far (under-lighting)
- Where? Whole plant, strongest in middle/bottom.
- Leaves: flat/relaxed under light, long internodes, pale new growth; no “prayer” after lights on.
- Growth: “chasing the lamp,” spaced nodes, slow resin formation.
- Quick test:lower lamp 5–8 cm or add +10–15% on the dimmer; keep climate steady — within 2–3 days nodes should tighten.
Light burn or deficiency? Don’t get fooled
Nitrogen (N) — “burnt tips” vs. “burnt by light”
- N-burn: brown tips on many leaves across the plant, leaf dark/shiny, often high drain EC.
- Light burn: starts at the top, often without high EC; degrades the whole blade on the light-facing side, tops may bleach.
Magnesium (Mg) — interveinal chlorosis
- Mg-def: first on older leaves mid/lower canopy; yellowing between veins with green veins.
- Light stress: hits new top growth; accompanied by tacoing and higher leaf temp.
Potassium (K) — “burnt edges”
- K-def: necrosis on edges, more on mid/lower leaves, not necessarily under lamp center.
- Light burn: edges roll into taco, tissue whitens on light-facing side; localized under lamp, not uniform.
Diagnostic tip: look where it starts (top vs. bottom) and how new growth reacts after 48 h of distance/power correction. Healthy new leaves = not macros, it’s light/climate.
When to raise the lamp, when to dim?
- Raise (mechanical) when canopy is uneven and the center gets too much: you gain uniformity without stealing photons from the edges.
- Dim (electrical) when the whole surface is even but DLI is too high (e.g., >45 mol/d without CO₂) or leaf is too hot despite sensible distance.
- Do both when plants are stretching into the lamp: first +3–5 cm, check PPFD/leaf temp after an hour; if still high — add –10% on the dimmer.
Orientation tables: LED distance above canopy (bar/board, modern 2.5–3.0 µmol/J)
Note: these are starting distances for flat canopies. Always verify average PPFD (grid: center + corners). In veg, 50–70% of flower power usually suffices.
60×60 cm
| LED power | Veg (PPFD ~300–500) | Flower (PPFD ~700–850) |
|---|---|---|
| 100–120 W | 40–50 cm | 30–40 cm |
| 150–180 W | 45–55 cm | 35–45 cm |
80×80 cm
| LED power | Veg | Flower |
|---|---|---|
| 180–220 W | 45–55 cm | 35–45 cm |
| 240–260 W | 50–60 cm | 40–50 cm |
100×100 cm
| LED power | Veg | Flower |
|---|---|---|
| 300–350 W | 50–65 cm | 40–50 cm |
| 400–450 W | 55–70 cm | 45–55 cm |
120×120 cm
| LED power | Veg | Flower |
|---|---|---|
| 480–600 W | 55–75 cm | 45–60 cm |
| 650–750 W (2 fixtures) | 60–80 cm | 50–65 cm |
Bar lights can often hang 5–10 cm closer than single-source panels of the same power due to better uniformity.
48-hour “no-drama” correction protocol
- Identify: is the problem only on top? (If yes — likely light/temperature.)
- One change at a time:+5–8 cm distance or–10–20% dimmer.
- Log PPFD (average of 5 points) and DLI (PPFD × seconds / 1,000,000).
- Watch new growth after 24–48 h. Better? Continue in small steps every 1–2 days.
- Don’t over-swing: if taco/bleach returns, undo half of the last change and check VPD (too dry/hot leaves amplify light burn).
Special cases
- Post-flip stretch: plants grow 2–5 cm/day. Set a daily raise reminder (2–3 cm) or use a daytime dim of 5–10% until stretch ends.
- CO₂ 800–1200 ppm: you can run higher (PPFD 900–1100 µmol), but only with dialed VPD and feeding; distance usually similar, adjust with dimmer.
- Genetic vs. light foxtailing: if “fox tails” are everywhere — genetics; if only under center with bleaching — light.
- UV/IR and “booster” channels: treat as spices, not the base. Set white-diode distance/power first, then add extras.
Mini budget for peace of mind (helper gear)
- Ratchet hangers for height adjustment: €8–15.
- Mini hygrometer/thermometer at canopy: €10–20.
- PPFD app (with paper diffuser) or simple lux meter: €0–20.
TL;DR — golden lines for the tent door
- Average > peak: aim for phase PPFD, measure a grid (center + corners).
- Shape first, then power: flatten the canopy before cranking the dimmer.
- New growth tells the truth: improvement 48 h after distance change = not a missing bottle, it was light/climate.
- Too close: taco, photobleach, foxtail on top. Too far: stretch, lazy leaves, pallor everywhere.
- DLI in flower without CO₂: typically 30–45 mol/d. Above that — watch the leaf, not just the screen.

