
CO₂ has long had the reputation of a “magic accelerator” in growrooms. But the magic only works where measurement, control, and sane economics meet. Below is the essence: when supplemental CO₂ truly boosts yield, how to monitor it smartly, what it costs, and how not to overdo it on safety.
Why monitoring first—before you crack open the CO₂?
Raising CO₂ without control is like flooring the gas with the handbrake on. Before you buy a kit, make sure you have:
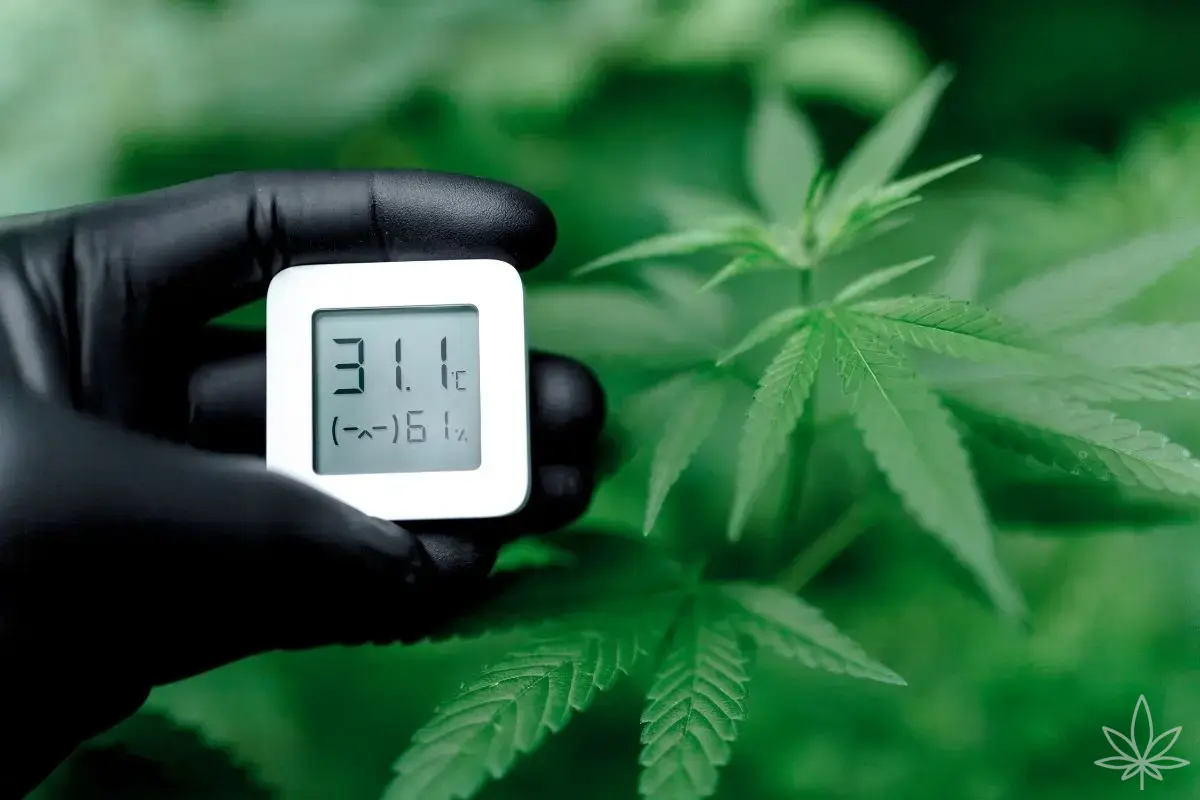
- Stable climate (T/RH/VPD) and solid air-sealing/exchange.
- Light intensity of at least ~800 μmol·m⁻²·s⁻¹ PPFD, because plants won’t “eat” more CO₂ without photons.
- Continuous CO₂ measurement with an NDIR sensor (not a cheap electrochemical gadget). NDIR is the industry standard; mind calibration and the ability to disable/bypass ABC in sealed spaces.
Where to measure?
Place the probe at canopy height, away from intake drafts and the injection nozzle—otherwise you’ll read “fake” spikes. A canopy-level sensor shows what the leaves actually “see.”
What ppm works in practice?
- Veg / bloom: typically 1200–1500 ppm during lights-on. Exceeding ~2000 ppm usually hurts results. No dosing at night (no photosynthesis).
- Human safety: practical workplace limits are 5000 ppm as an 8-hour average and 15,000 ppm as a 15-minute short-term limit. If people enter the growspace, keep it <1500 ppm.
How much CO₂ do you really need? (simple formula + example)
To raise room concentration, use:
CO₂ [L] = room volume [L] × (ppm_target − ppm_current) / 1,000,000
Example – 120×120×200 cm tent (2.88 m³ = 2880 L): from 420 ppm to 1200 ppm you need ~2.25 L CO₂ per pulse (2880 × 780 / 1e6 = 2.2464 L).
For orientation: 1 kg CO₂ (gas) is about 509 L at standard conditions.
Note: how often you “top up” per day depends on leakage, ventilation, and plant appetite—hence a feedback-loop controller (ppm readout → valve/burner pulse) is priceless.
Ballpark consumption in a small grow
Greenhouse data suggests ~0.12–0.24 kg CO₂/h/100 m² (higher under strong light). Scaled to 1.44 m² (a 120×120 tent) that’s ~0.0017–0.0035 kg/h. At 12 h of light: ~0.02–0.04 kg/day, i.e., ~1.2–2.5 kg per 6–8-week cycle. Treat this as order-of-magnitude; monitoring beats calculators.
Hardware: from monitoring to full control
Monitoring (stand-alone, for viewing/logging):
- Budget NDIR meters with T/RH and Wi-Fi are great “eyes” but won’t control a valve.
Control (controllers + probes):
- Ecotechnics Evolution CO₂ Controller: about €240–€290 for the unit (probe/analyzer and accessories may be separate).
- TrolMaster Hydro-X – CO₂ probe (MBS-S8):~€227–€242 (probe for the Hydro-X system).
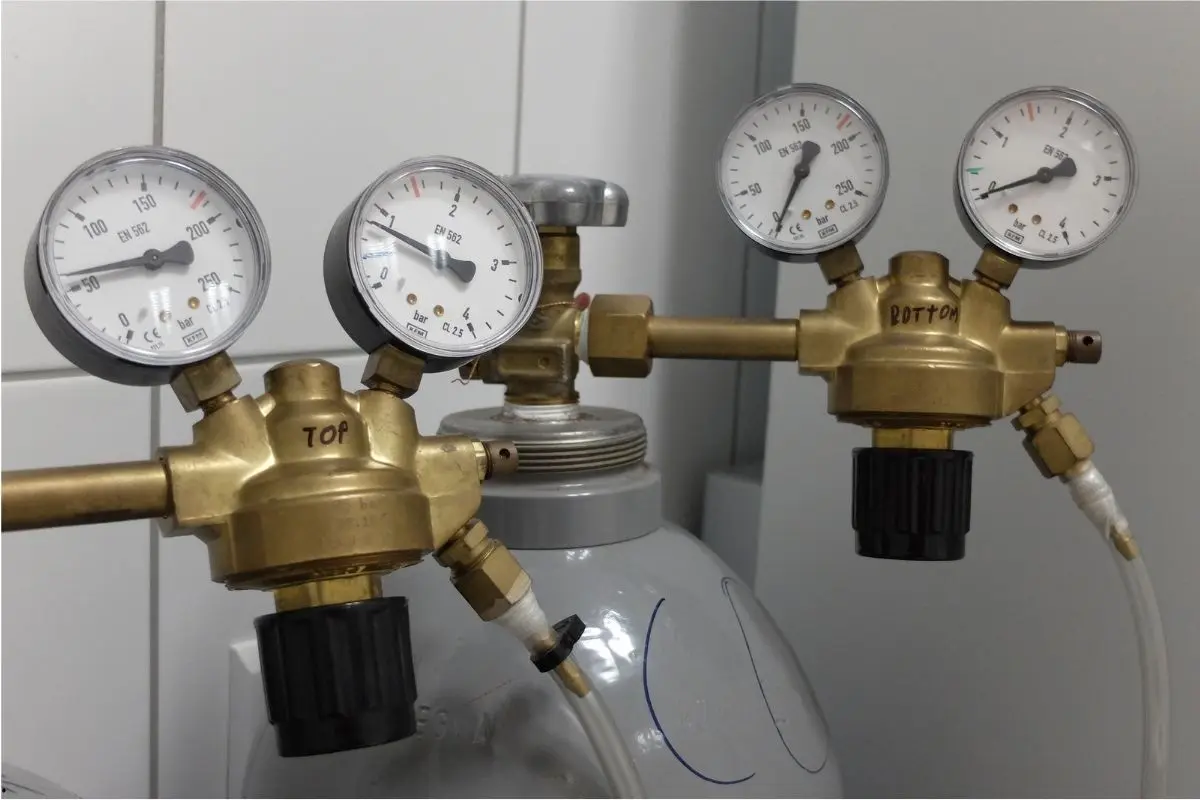
CO₂ sources:
- Cylinder + regulator – the cleanest and most convenient option for tents; check refill services nearby.
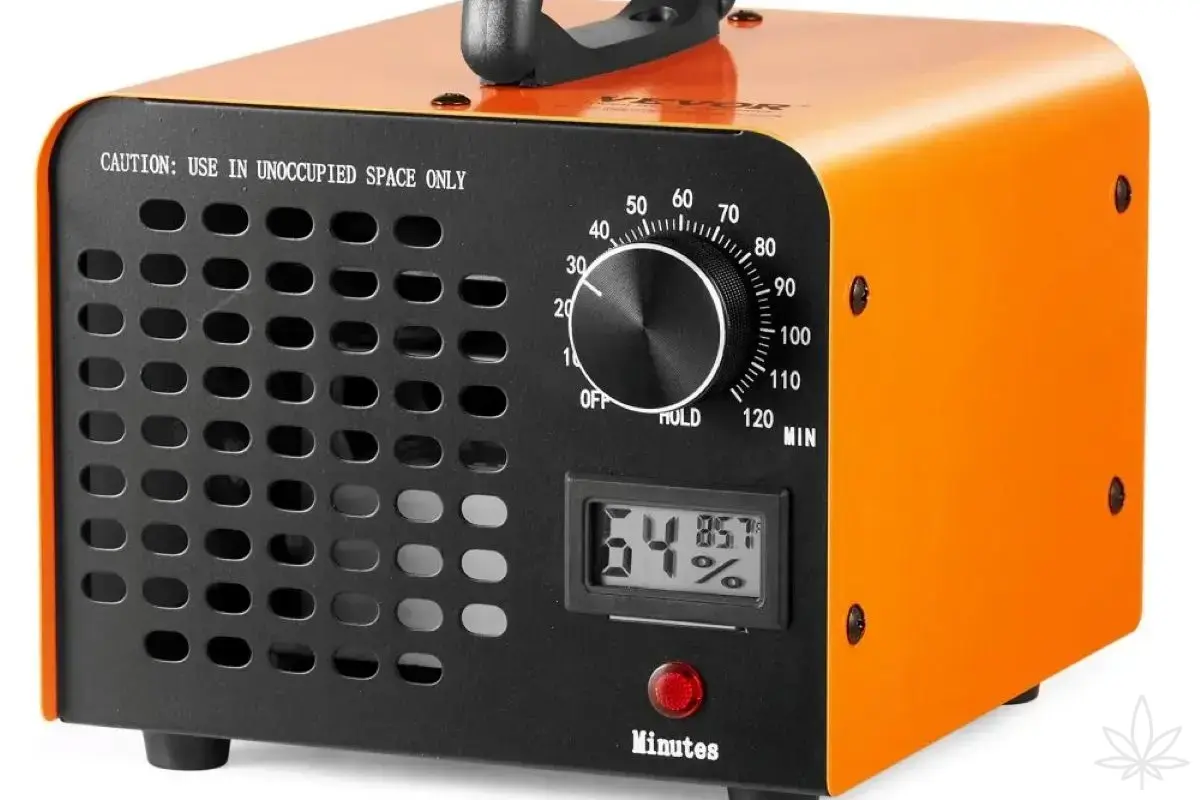
- Generators (propane/butane) – powerful for larger, well-ventilated rooms; they add heat and moisture (combustion by-products).
- Biological bags/reactors – they work but are not controllable and best for micro-setups; typical rise is ~400 → 800–1500 ppm depending on volume and airflow; lifespan up to 6 months.
Calibration & ABC:
In sealed growrooms disable ABC or periodically expose the sensor to fresh air; a professional “zero-check” uses 100% nitrogen (sensor should read 0% CO₂).
What does it cost—and does it pay back?
Up-front (EU example):
- Grow-class controller/probe: ~€240–€290 (+ optional solenoid/regulator €80–€150).
- 6 kg cylinder + regulator: pricing varies by country and supplier; account for deposit/exchange programs where applicable.
Gas per cycle (120×120 tent)—based on the estimates above: ~1.2–2.5 kg CO₂ per cycle. The real cost depends on local refill rates and logistics; in practice this is usually a few to a dozen-plus euros worth of gas for small tents.
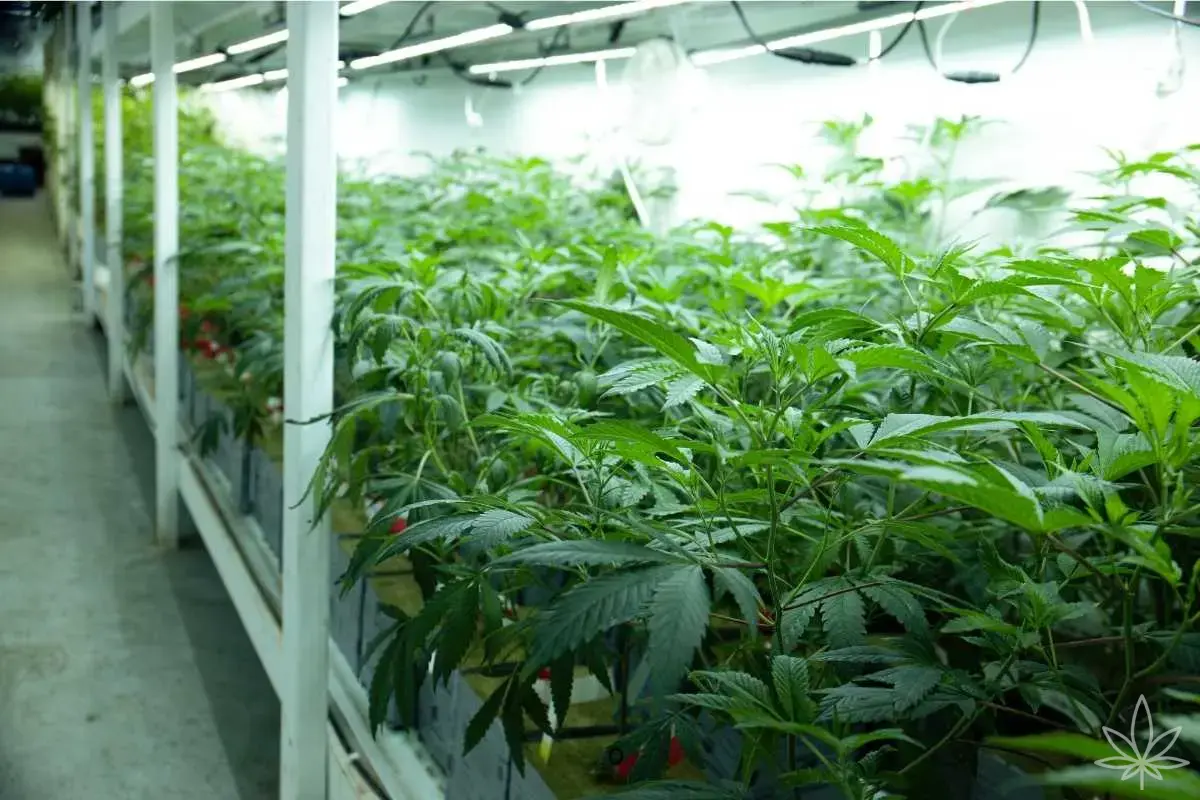
What about yield?
With optimized light and climate, enriching to ~1200–1500 ppm can deliver 20–40% more mass. Not a guarantee—CO₂ only lifts the ceiling; the rest (PPFD/VPD/nutrition) must keep pace.
Economic takeaway: in small tents the gas cost is surprisingly low relative to the effect, and the real barrier is hardware. If you already run high light and a stable climate, CO₂ offers one of the best ROIs of all upgrades.
CO₂ vs ventilation: how to make them play nice
- During enrichment: disable/limit exhaust while dosing (many controllers automate this) or you’ll blow the gas out.
- Sealed rooms: require solid dehumidification and AC (lamp heat + transpiration moisture).
- Tents: semi-sealed operation (short CO₂ pulses synced with ventilation cycles) works, but needs frequent monitoring and careful in-canopy circulation.
Checklist: when does CO₂ make sense?
Yes, invest when:
- PPFD > 800 μmol and plants are “well-fed” (EC, micros, timely irrigation).
- You can hold 1200–1500 ppm steady during lights-on.
- You have a controller + NDIR and dialed-in ventilation/circulation.
Skip or postpone if:
- The room “leaks” climate (gaps, temp/RH swings).
- Light is weak (e.g., 300–500 μmol)—upgrade lamps first.
- It’s a living space and you can’t ensure OHS (hallway monitor/alarm, household briefed). Limits: 5000 ppm TWA, 15,000 ppm STEL.
Safety & good practice
- CO₂ alarm in human areas (hallway/anteroom).
- Shut-off solenoid and a controller with “fan interlock.”
- Regular calibration of the CO₂ probe; in sealed setups disable ABC or do periodic “air-outs” to re-baseline.
- Biological bags in tiny boxes? Fine, but measure—the outcome depends on volume and airflow.
Bottom line: worth it—done right
If you’ve got strong light, a stable climate, and disciplined monitoring, supplemental CO₂ is one of the most cost-effective upgrades indoors. The keys are measurement (NDIR), control (controller), and safety (exposure limits). In a small tent you’ll typically use 1–3 kg gas per cycle; the main investment is electronics. Only after those boxes are ticked do ppm translate to grams.

